Raspberry Pi Kiosk Mode: Full-Screen Home Assistant Dashboard
January 24, 2026 | 9 minutesIn This Post
I've been using a Raspberry Pi as a wall-mounted Home Assistant dashboard in my home for a while now. The goal is simple: plug it in and have it boot directly into a full-screen browser showing my dashboard. No desktop, no mouse cursor, no login prompts.
This post walks through how to set up a Raspberry Pi as a dedicated kiosk display that launches automatically on boot. I'll cover both a basic setup for getting started quickly and a more robust systemd-based approach for something you can mount on a wall and forget about.
If you've followed older tutorials and found that they no longer work, you're not alone. Raspberry Pi OS has changed significantly in recent versions, and many of the old methods for setting up kiosk mode are now outdated.
Why Old Kiosk Tutorials Don't Work Anymore
If you've come across tutorials that tell you to edit this file /etc/xdg/lxsession/LXDE-pi/autostart and found that it doesn't exist on your system, it's because Raspberry Pi OS (Bookworm and later) no longer uses LXDE as its desktop environment. Here's what changed:
- LXDE has been replaced: Current versions of Raspberry Pi OS use Wayland-based compositors instead of the LXDE desktop
- Autostart works differently: The old
lxsessionautostart method no longer applies - Chromium package name changed: The browser package was renamed in newer releases
The good news is that setting up kiosk mode still works, but it just requires a different approach.
What You'll Need
Disclosure: I get commissions for purchases made through affiliate links in this post.
- Raspberry Pi (3, 4, or 5)
- Raspberry Pi OS with desktop installed
- A display connected to the Pi (I love my SunFounder 10.1" touchscreen)
- The URL for your Home Assistant dashboard (or whatever page you want to display)
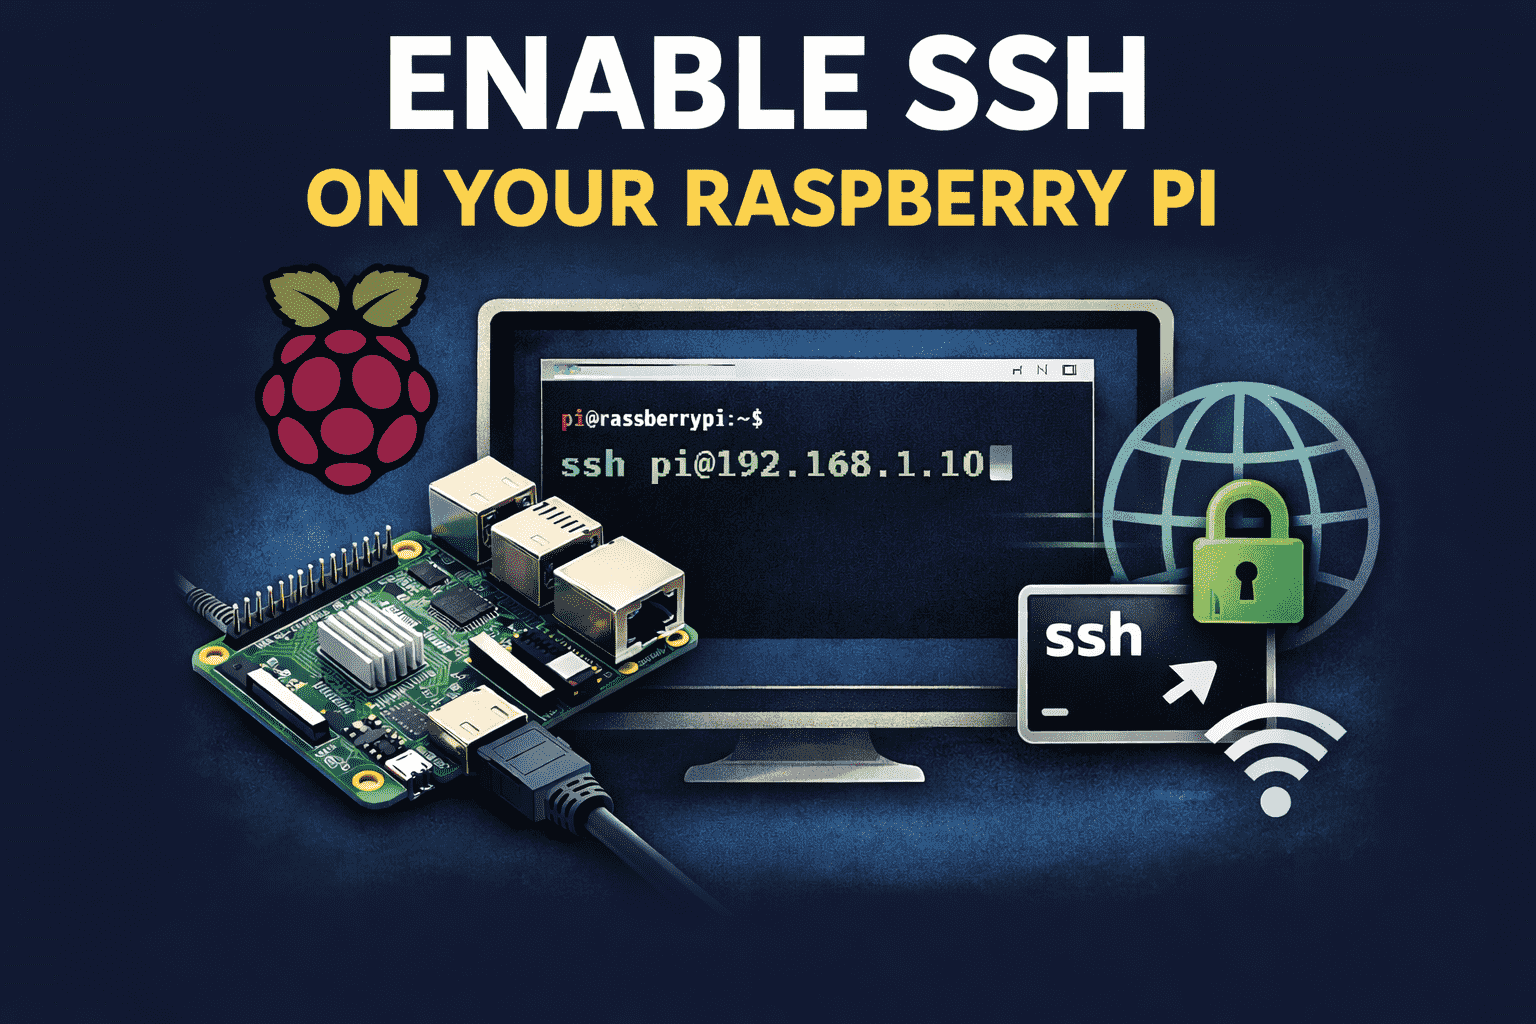
- SSH access to the Pi (see my post on enabling SSH on a Raspberry Pi if you need help with this)
Basic Setup: Getting Your Dashboard Running
This section covers the simplest approach to get a kiosk display working. If you want something more robust that will recover from crashes and run as a proper system service, skip ahead to the Advanced Setup section.
Step 1: Install Required Packages
First, connect to your Raspberry Pi via SSH and install Chromium along with a couple of helper utilities:
1sudo apt update 2sudo apt install -y chromium unclutter xdotool
Here's what each package does:
- chromium: The web browser that will display your dashboard
- unclutter: Hides the mouse cursor after a period of inactivity, which keeps the display looking clean
- xdotool: A utility for simulating keyboard and mouse input, which we'll use to dismiss any browser pop-ups
Step 2: Create the Kiosk Script
Next, create a folder for your kiosk files and a script that will launch the browser:
1mkdir -p /home/pi/kiosk 2nano /home/pi/kiosk/start.sh
Add the following to the script:
1#!/bin/bash 2 3# Wait for the desktop environment to fully load 4sleep 15 5 6# Hide the mouse cursor when it's not moving 7unclutter -idle 0.5 -root & 8 9# Dismiss any Chromium crash recovery dialogs 10# This handles the "Chromium didn't shut down correctly" message 11xdotool search --sync --onlyvisible --class "chromium" windowactivate --sync key Return & 12 13# Launch Chromium in kiosk mode 14# --kiosk: Runs in full-screen kiosk mode 15# --noerrdialogs: Suppresses error dialogs 16# --disable-infobars: Hides the "Chrome is being controlled" bar 17# --check-for-update-interval=31536000: Disables update checks (1 year in seconds) 18/usr/bin/chromium \ 19 --kiosk \ 20 --noerrdialogs \ 21 --disable-infobars \ 22 --check-for-update-interval=31536000 \ 23 http://homeassistant.local:8123
Replace http://homeassistant.local:8123 with the URL of your Home Assistant dashboard or whatever page you want to display. Note: this post assumes that Home Assistant is running on another computer on the same network if you are displaying a Home Assistant dashboard.
The sleep 15 at the beginning gives the desktop environment time to fully initialize before launching the browser. You may need to adjust this value depending on your Pi's speed—if Chromium launches before the desktop is ready, it may not display correctly. This was enough for my Raspberry Pi 4 Model B.
Make the script executable:
1chmod +x /home/pi/kiosk/start.sh
Step 3: Set Up Autostart
Modern Raspberry Pi OS uses the XDG autostart specification for launching applications when the desktop loads. Create an autostart entry for the kiosk script:
1mkdir -p ~/.config/autostart 2nano ~/.config/autostart/kiosk.desktop
Add the following content:
1[Desktop Entry] 2Type=Application 3Name=Home Assistant Kiosk 4Comment=Launch Home Assistant dashboard in kiosk mode 5Exec=/home/pi/kiosk/start.sh 6Terminal=false
The fields in this file tell the desktop environment:
- Type: This is an application (as opposed to a link or directory)
- Name: A human-readable name for the entry
- Comment: A description of what it does
- Exec: The script to run
- Terminal: Whether to run in a terminal window (we don't need one)
Reboot your Pi to test the setup:
1sudo reboot
After rebooting, your Pi should automatically launch Chromium in full-screen mode and display your dashboard.
Advanced Setup: systemd Service
The basic autostart method works, but it has some limitations. If Chromium crashes, it won't automatically restart. The browser also runs under your user session, which means it won't start until you log in (unless you've configured auto-login).
For a more reliable setup, you can run the kiosk as a systemd user service. This approach offers several advantages:
- Automatic restart: systemd will restart the browser if it crashes
- Consistent environment: The service runs with a predictable set of environment variables
- Better logging: You can use
journalctlto view logs and troubleshoot issues
Step 1: Create an Enhanced Kiosk Script
Create a new script that's designed to work with systemd:
1nano /home/pi/kiosk/kiosk-systemd.sh
Add the following:
1#!/bin/bash
2
3# Set display environment variable for Wayland
4export DISPLAY=:0
5
6# Wait for the display server to be ready
7while ! xdotool getactivewindow > /dev/null 2>&1; do
8 sleep 1
9done
10
11# Give the desktop a moment to stabilize
12sleep 5
13
14# Hide the mouse cursor
15unclutter -idle 0.5 -root &
16
17# Dismiss any crash dialogs
18xdotool search --sync --onlyvisible --class "chromium" windowactivate --sync key Return &
19
20# Launch Chromium in kiosk mode
21exec /usr/bin/chromium \
22 --kiosk \
23 --noerrdialogs \
24 --disable-infobars \
25 --disable-session-crashed-bubble \
26 --disable-component-update \
27 --check-for-update-interval=31536000 \
28 http://homeassistant.local:8123
This script is similar to the basic version but includes a few improvements:
- Display detection loop: Instead of a fixed
sleep, it waits until the display server is actually ready execcommand: Replaces the shell process with Chromium, which makes systemd's process tracking work correctly- Additional Chromium flags:
--disable-session-crashed-bubbleprevents the "restore session" prompt, and--disable-component-updatestops background component updates
Make the script executable:
1chmod +x /home/pi/kiosk/kiosk-systemd.sh
Step 2: Create the systemd Service File
Create a user-level systemd service:
1mkdir -p ~/.config/systemd/user 2nano ~/.config/systemd/user/kiosk.service
Add the following configuration:
1[Unit] 2Description=Home Assistant Kiosk Display 3After=graphical-session.target 4 5[Service] 6Type=simple 7ExecStart=/home/pi/kiosk/kiosk-systemd.sh 8Restart=on-failure 9RestartSec=10 10Environment=DISPLAY=:0 11 12[Install] 13WantedBy=default.target
Here's what each section does:
- [Unit]: Describes the service and its dependencies
After=graphical-session.target: Ensures the desktop is ready before starting
- [Service]: Defines how the service runs
Type=simple: The service is considered started as soon as the script runsExecStart: The script to executeRestart=on-failure: Automatically restart if Chromium crashesRestartSec=10: Wait 10 seconds before restarting (prevents rapid restart loops)Environment=DISPLAY=:0: Sets the display variable so Chromium knows where to render
- [Install]: Controls when the service starts
WantedBy=default.target: Start when the user session begins
Step 3: Enable and Start the Service
If you created the basic autostart entry earlier, remove it to avoid running two instances:
1rm ~/.config/autostart/kiosk.desktop
Enable the systemd service so it starts automatically:
1systemctl --user daemon-reload 2systemctl --user enable kiosk.service 3systemctl --user start kiosk.service
You can check the status of the service with:
1systemctl --user status kiosk.service
And view logs with:
1journalctl --user -u kiosk.service -f
Escaping Kiosk Mode
At some point, you'll need to get out of kiosk mode to make changes or shut down the Pi safely. Here are a few options, from simplest to most flexible.
Keyboard Shortcuts
If you have a keyboard connected to the Pi:
- Alt + F4: Close Chromium
- Ctrl + W: Close the current browser window
Virtual Console
You can switch to a text console without exiting the graphical session:
- Press Ctrl + Alt + F2 to switch to a virtual terminal
- Log in with your username and password
- Run any commands you need, such as
sudo poweroffto shut down
Press Ctrl + Alt + F1 to switch back to the graphical session.
SSH Access
This is the most convenient option for ongoing management. From another computer:
1ssh pi@<your-pi-ip-address>
Once connected, you can stop the kiosk service, make changes, or shut down:
1# Stop the kiosk (if using systemd) 2systemctl --user stop kiosk.service 3 4# Shut down the Pi 5sudo poweroff
If you haven't already set up SSH on your Pi, see my post on enabling SSH.
Preventing Screen Blanking
By default, Raspberry Pi OS will blank the screen after a period of inactivity. To prevent this on a kiosk display, you can disable screen blanking through the Raspberry Pi configuration tool:
1sudo raspi-config
Navigate to Display Options → Screen Blanking and select No.
If you're running Raspberry Pi OS Bookworm with the Wayfire compositor (the default for Wayland), you can also configure screen blanking by editing the Wayfire config file:
1nano ~/.config/wayfire.ini
Look for the [idle] section and set the timeout values to disable blanking:
1[idle] 2dpms_timeout=0 3screensaver_timeout=0
Setting these to 0 disables the idle timeout entirely, keeping your display on indefinitely.
Final Thoughts
Once you have the kiosk running reliably, you'll probably want to refine a few things. Consider adding a way to remotely trigger a browser refresh if you update your dashboard, or setting up a scheduled reboot to clear any memory leaks that might accumulate over time.
For ongoing maintenance, SSH access is essential. With SSH enabled, you can update scripts, check logs, and reboot safely without needing physical access to the Pi. If you're building a kiosk that will run Node.js applications alongside the browser, you might also want to look at using PM2 to automatically start applications on boot.
Frequently Asked Questions
Why doesn't the old LXDE autostart method work for Raspberry Pi kiosk mode?
Raspberry Pi OS Bookworm and later replaced LXDE with a Wayland-based compositor. The /etc/xdg/lxsession/LXDE-pi/autostart file no longer exists. Use XDG autostart or a systemd user service instead.
How do I prevent the screen from going blank on a Raspberry Pi kiosk?
Run sudo raspi-config, go to Display Options > Screen Blanking, and select No. On Bookworm with Wayfire, you can also set dpms_timeout=0 and screensaver_timeout=0 in ~/.config/wayfire.ini.
How do I exit kiosk mode on a Raspberry Pi?
Press Alt+F4 to close Chromium, use Ctrl+Alt+F2 to switch to a virtual console, or SSH into the Pi from another computer and stop the kiosk service.
Will Chromium restart automatically if it crashes in kiosk mode?
Only if you use the systemd service approach with Restart=on-failure in the service file. The basic XDG autostart method does not auto-restart on crash.