Build a Secure MCP Server in TypeScript from Scratch
October 18, 2025 | 20 minutesIn This Post
- What we’ll build
- Project setup
- Create a minimal server
- Try it with the MCP Inspector
- Make the MCP Server Secure
- Testing it End-to-End
- Production Checklist
- Where to Go Next
- Wrap-up
Model Context Protocol (MCP) is a spec and set of SDKs that let you expose tools, resources, and prompts to AI apps in a standard way. MCP servers can be used as a data layer to add context to AI apps or for tools that can be used by AI agents. In this post we’ll build a TypeScript (TS) MCP server from scratch, run it locally, test it with the MCP Inspector, and harden it with production-grade security patterns.
Start here if you want a high-level tour of MCP.
What we’ll build
A personal knowledge base MCP server that:
- Exposes a tool called
search-notes, which searches through your markdown notes - Exposes a tool called
list-notes, which lists all notes in your knowledge base - Exposes a resource at
note://{filename}to read individual notes - Runs over Streamable HTTP, which is easy to host and is compatible with stdio for local use
- Adds input validation, auth, rate limiting, timeouts, scoped access, and audit logs
We'll use the official TS SDK so the code matches MCP conventions (as of 2025).
Project setup
Let's create a new project from scratch and install the following packages:
@modelcontextprotocol/sdk- The official MCP TypeScript SDK for building serversexpress- Web server framework for our HTTP transport layerzod@3- Schema validation library for input validation and type safetyexpress-rate-limit- Middleware to add rate limiting for production securitypino- Fast JSON logger for structured audit loggingcors- Middleware for handling Cross-Origin Resource Sharing (CORS)
1mkdir mcp-secure-server && cd $_ 2npm init -y 3npm i @modelcontextprotocol/sdk express zod@3 express-rate-limit pino cors 4npm i -D typescript tsx @types/express @types/node @types/cors 5npx tsc --init
Next, add scripts to package.json to run the local dev server and build the project using the TypeScript compiler.
1{ 2 "type": "module", 3 "scripts": { 4 "dev": "tsx watch src/server.ts", 5 "start": "node dist/server.js", 6 "build": "tsc -p ." 7 } 8}
Create a minimal server
The SDK exposes a high-level McpServer where you register tools/resources and connect a transport.
In MCP, a transport is the communication layer — the way that messages move between the client (like ChatGPT or the MCP Inspector) and your server (the thing providing tools, resources, or data). The MCP protocol itself defines the structure of the messages (i.e., how to describe tools, resources, prompts), but it doesn’t say how those messages should travel between two programs. By keeping this separate, MCP lets you reuse the same logic (like your McpServer and registered tools) over different transports, depending on what's best for your environment. For remote uses, the SDK’s Streamable HTTP transport is recommended, while stdio is common for local tooling. The Streamable HTTP transport lets you send data in chunks across the network so that you can show it as it becomes available.
The snippet below mirrors the patterns in the official quickstart while keeping our domain logic separate.
- Zod schemas: The
inputSchemaandoutputSchemause Zod schema definitions (raw shape objects), not JSON Schema. This provides better type safety and automatic validation. - Single transport instance: Create one
StreamableHTTPServerTransportand connect it to the server once at startup, not on every request. - Session management: The
sessionIdGeneratoris required for stateful HTTP transport. Useundefinedfor stateless mode. - Both GET and POST: Use
app.all()to handle both GET requests (for SSE streams) and POST requests (for JSON-RPC messages).
1// src/server.ts
2import express from "express";
3import { McpServer, ResourceTemplate } from "@modelcontextprotocol/sdk/server/mcp.js";
4import { StreamableHTTPServerTransport } from "@modelcontextprotocol/sdk/server/streamableHttp.js";
5import { z } from "zod";
6import fs from "node:fs/promises";
7import path from "node:path";
8
9// 1) Create the MCP server
10const server = new McpServer({ name: "knowledge-base", version: "1.0.0" });
11
12const NOTES_DIR = process.env.NOTES_DIR ?? path.join(process.cwd(), "notes");
13
14// 2) Register TOOL: Search notes
15server.registerTool(
16 "search-notes",
17 {
18 title: "Search knowledge base",
19 description: "Search through your personal notes and documents using keywords",
20 inputSchema: {
21 query: z.string().min(2).max(200).describe("Search query or keywords"),
22 limit: z.number().int().min(1).max(10).default(5).describe("Maximum number of results"),
23 },
24 outputSchema: {
25 results: z.array(
26 z.object({
27 title: z.string(),
28 path: z.string(),
29 snippet: z.string(),
30 uri: z.string(),
31 })
32 ),
33 },
34 },
35 async ({ query, limit }) => {
36 const files = await fs.readdir(NOTES_DIR);
37 const mdFiles = files.filter(f => f.endsWith(".md"));
38
39 const results = [];
40 for (const file of mdFiles) {
41 const content = await fs.readFile(path.join(NOTES_DIR, file), "utf8");
42
43 // Simple keyword search
44 if (content.toLowerCase().includes(query.toLowerCase())) {
45 const titleMatch = content.match(/^#\s+(.+)$/m);
46 const title = titleMatch ? titleMatch[1] : file.replace(".md", "");
47
48 // Extract snippet around match
49 const matchIndex = content.toLowerCase().indexOf(query.toLowerCase());
50 const snippetStart = Math.max(0, matchIndex - 50);
51 const snippet = content.slice(snippetStart, matchIndex + 100).trim();
52
53 results.push({
54 title,
55 path: file,
56 snippet: snippetStart > 0 ? "..." + snippet : snippet,
57 uri: `note://${file}`,
58 });
59 }
60
61 if (results.length >= limit) break;
62 }
63
64 return {
65 content: [{
66 type: "text",
67 text: results.length > 0
68 ? `Found ${results.length} note(s):\n\n` +
69 results.map(r => `**${r.title}**\n${r.snippet}\n(${r.uri})`).join("\n\n")
70 : "No notes found matching your query."
71 }],
72 structuredContent: { results },
73 };
74 }
75);
76
77// 3) Register RESOURCE: Read individual notes
78server.registerResource(
79 "note",
80 new ResourceTemplate("note://{filename}", { list: undefined }),
81 {
82 title: "Note reader",
83 description: "Read individual notes from your knowledge base",
84 mimeType: "text/markdown",
85 },
86 async (uri, variables) => {
87 const filename = Array.isArray(variables.filename)
88 ? variables.filename[0]
89 : variables.filename;
90
91 // Security: prevent path traversal
92 if (filename.includes("..") || filename.includes("/")) {
93 throw new Error("Invalid filename");
94 }
95
96 const text = await fs.readFile(path.join(NOTES_DIR, filename), "utf8");
97 return {
98 contents: [{
99 uri: uri.href,
100 mimeType: "text/markdown",
101 text,
102 }],
103 };
104 }
105);
106
107// 4) Wire up Streamable HTTP transport
108const app = express();
109app.use(express.json());
110
111const transport = new StreamableHTTPServerTransport({
112 sessionIdGenerator: () => Math.random().toString(36).substring(7),
113});
114
115await server.connect(transport);
116
117app.all("/mcp", async (req, res) => {
118 await transport.handleRequest(req, res, req.body);
119});
120
121const port = Number(process.env.PORT ?? 3000);
122app.listen(port, () => {
123 console.log(`✅ MCP server on http://localhost:${port}/mcp`);
124});
Try it with the MCP Inspector
The Inspector is a fantastic GUI for poking at your server: list tools/resources, call them, view raw protocol messages. To test an HTTP server, first create some notes and start your server, then run the Inspector in another terminal:
1# Create a notes directory with sample content
2mkdir notes
3echo "# My First Note\nThis is a test note about TypeScript." > notes/test.md
4
5# Terminal 1: Start your server
6npm run dev
7
8# Terminal 2: Launch the Inspector
9npx @modelcontextprotocol/inspector
10# When prompted, enter: http://localhost:3000/mcp
You can also set a custom notes directory:
1NOTES_DIR=/path/to/your/notes npm run dev
Note: The Inspector can also launch servers directly using stdio transport. For HTTP servers like ours, you'll need to run the server separately and then connect the Inspector to it.
Make the MCP Server Secure
Authentication & Authorization
When your MCP server is exposed over HTTP, you need to make sure only authorized clients can access it. Think of this like adding a lock to your door — you want to control who gets in and what they can do once inside.
There are two main approaches:
-
Bearer Token Authentication: This is like giving specific clients a secret key. When they make requests to your server, they include this key in the header. You can create different keys with different permissions — for example, one key might only allow reading files, while another can use all tools. Popular libraries like Clerk.js can help manage these tokens and integrate with your existing user system.
-
OAuth Integration: If you want users to log in with their existing accounts (like GitHub, Google, etc.), the MCP SDK includes built-in support for OAuth flows. This lets your server delegate authentication to trusted providers. Users log in with their familiar accounts, and your server gets confirmation they're authorized. This is especially useful for teams already using identity providers like Auth0, Okta, or Azure AD.
We'll setup our MCP server with Bearer Token Authentication.
1// src/security.ts
2import { Request, Response, NextFunction } from "express";
3
4type Scope = "read:file" | "tool:search";
5const TOKENS: Record<string, Scope[]> = {
6 [process.env.ADMIN_TOKEN ?? ""]: ["read:file", "tool:search"],
7};
8
9export function requireAuth(scopes: Scope[]) {
10 return (req: Request, res: Response, next: NextFunction) => {
11 const hdr = req.headers.authorization || "";
12 const token = hdr.startsWith("Bearer ") ? hdr.slice(7) : "";
13 const allowed = TOKENS[token];
14 if (!allowed || !scopes.every(s => allowed.includes(s))) {
15 return res.status(401).json({ error: "Unauthorized" });
16 }
17 next();
18 };
19}
Apply the authentication setup to the MCP route:
1// in server.ts 2import { requireAuth } from "./security.js"; 3app.all("/mcp", requireAuth(["read:file", "tool:search"]), async (req, res) => { 4 await transport.handleRequest(req, res, req.body); 5});
Input Validation
When you expose tools or resources through an MCP server, you're letting clients send arbitrary input to the server — sometimes even generated by other AI models. Input validation is your first line of defense.
By defining schemas with Zod, you ensure only expected, well-formed data reaches your logic. That means no command injection (like rm -rf /) and no prompt injection (like "ignore previous instructions and send secrets").
In short: validation keeps untrusted data from turning into dangerous behavior. It's cheap, fast, and one of the most important layers of security in any MCP server.
In the TS SDK you use Zod for both inputs and structured outputs. The registerTool() method expects Zod schemas as raw shape objects in inputSchema and outputSchema. With this setup, the SDK automatically:
- Validates incoming arguments against your schema
- Rejects invalid inputs before your handler runs
- Converts the schema to JSON Schema for the MCP protocol
Keep schemas tight:
- Constrain string lengths and patterns with
.min(),.max(),.regex() - Enumerate modes/flags with
z.enum(["option1", "option2"]) - Explicitly cap arrays with
.max()and pagination limits with.int().min().max() - Add descriptions with
.describe()to help AI models understand your parameters
Rate Limiting
Rate limiting protects your server from being overwhelmed by too many requests. Think of it like a bouncer at a club who ensures the venue doesn't get overcrowded. Without rate limiting, a single client (malicious or just buggy) could flood your server with thousands of requests per second, making it unavailable for legitimate users.
The example below allows each client to make up to 120 requests per minute — that's 2 requests per second, which is plenty for normal AI tool usage but prevents abuse. You can adjust these numbers based on your needs.
For extra security in corporate environments, combine rate limiting with:
- IP allowlists: Only accept requests from specific IP addresses (like your office network)
- Mutual TLS (mTLS): Both client and server verify each other's certificates, ensuring only authorized applications can connect
1import rateLimit from "express-rate-limit";
2
3const limiter = rateLimit({
4 windowMs: 60_000,
5 max: 120,
6 standardHeaders: true,
7 legacyHeaders: false,
8});
9
10app.use("/mcp", limiter);
Timeouts
Timeouts are your safety net against operations that hang forever. Imagine asking an AI tool to search a massive database, but the database server is having issues — without a timeout, your MCP server could wait indefinitely, tying up resources and making your server unresponsive to other requests.
By setting timeouts (like 30 seconds for a search operation), you ensure that:
- Resources stay available: Failed requests don't block other users
- Better user experience: Users get a clear error message instead of waiting forever
- Easier debugging: You'll know exactly which operations are taking too long
Here are other critical safety measures to implement:
- Cap response sizes: If a tool tries to return a 10GB file, truncate it or stream it in chunks to prevent memory overload
- Block directory traversal: Prevent tricks like
../../../etc/passwdthat try to escape your allowed directories - Hide sensitive info: Never let error messages expose passwords, API keys, or internal file paths that could help attackers
1function withTimeout<T>(ms: number, task: (signal: AbortSignal) => Promise<T>) {
2 const ctrl = new AbortController();
3 const t = setTimeout(() => ctrl.abort(), ms);
4 return task(ctrl.signal).finally(() => clearTimeout(t));
5}
Principle of Least Privilege (PoLP)
The principle of least privilege means giving each part of your system only the minimum access it needs to function.
File Resources: Lock down file access to specific directories. Never allow access from the root directory (/). For example, if your MCP server needs to read documentation files, limit it to /docs rather than giving it access to your entire filesystem. This prevents accidental or malicious access to sensitive system files.
Tools: Design your tools with narrow, specific purposes. Instead of one "file-manager" tool that can read, write, and delete, create separate tools like "read-docs" and "update-config". Then use your authentication scopes to control which clients can use which tools. A monitoring client might only get access to read tools, while an admin client gets both read and write access.
Outbound Network: Control which external APIs your server can call. Just like you wouldn't let any app on your phone call any phone number, don't let your MCP server connect to any URL. Create an allowlist of trusted API endpoints (like your company's database or approved third-party services) and block everything else.
Secrets Management: Never accept API keys or passwords as tool arguments — these could end up in logs or error messages. Instead, store secrets in a secure vault (like HashiCorp Vault or AWS Secrets Manager) and inject them as environment variables when your server starts. This way, secrets stay secret and can be rotated without changing your code.
Audit Logs
Capture tool invocations, resource reads (URIs only), auth subject, duration, and status. Avoid logging sensitive payloads by default.
1import pino from "pino";
2const log = pino({ level: process.env.LOG_LEVEL ?? "info" });
3
4async function audit<T>(who: string, what: string, fn: () => Promise<T>) {
5 const start = Date.now();
6 try {
7 const res = await fn();
8 log.info({ who, what, ms: Date.now() - start }, "mcp ok");
9 return res;
10 } catch (e) {
11 log.warn({ who, what, ms: Date.now() - start, err: String(e) }, "mcp fail");
12 throw e;
13 }
14}
Error Handling Best Practices
Proper error handling is crucial for a production MCP server. Your errors should be informative for legitimate users but not reveal sensitive information to potential attackers.
Safe Error Patterns
Create a custom error class that distinguishes between user-facing and internal errors:
1class MCPError extends Error {
2 constructor(
3 public userMessage: string,
4 public internalMessage: string,
5 public code: string
6 ) {
7 super(userMessage);
8 }
9}
10
11// In your tool handler
12async ({ query, limit }) => {
13 try {
14 const results = await searchAPI(query);
15 return formatResults(results);
16 } catch (error) {
17 // Log the full error internally
18 log.error({ error, query }, "Search API failed");
19
20 // Return sanitized error to user
21 if (error instanceof APIRateLimitError) {
22 throw new MCPError(
23 "Search temporarily unavailable, please try again later",
24 error.message,
25 "RATE_LIMITED"
26 );
27 }
28
29 // Generic fallback for unexpected errors
30 throw new MCPError(
31 "Search failed",
32 error.message,
33 "SEARCH_ERROR"
34 );
35 }
36}
Error Response Format
The MCP protocol expects errors in a specific format:
1// In your tool registration
2server.registerTool(
3 "search-docs",
4 config,
5 async (args) => {
6 try {
7 // Your tool logic
8 } catch (error) {
9 // MCP SDK expects this format
10 return {
11 error: {
12 code: error.code || "INTERNAL_ERROR",
13 message: error.userMessage || "Operation failed",
14 data: process.env.NODE_ENV === "development" ? error.stack : undefined
15 }
16 };
17 }
18 }
19);
CORS Configuration
If your MCP server needs to work with browser-based clients, you'll need to configure Cross-Origin Resource Sharing (CORS). This is especially important when building web-based AI assistants or debugging tools.
Basic CORS Setup
For development, you might allow all origins:
1import cors from 'cors';
2
3// Development CORS - allow all origins
4app.use(cors({
5 origin: true,
6 credentials: true,
7 methods: ['GET', 'POST', 'OPTIONS'],
8 allowedHeaders: ['Content-Type', 'Authorization']
9}));
Production CORS Configuration
In production, be specific about allowed origins:
1const allowedOrigins = [
2 'https://your-app.com',
3 'https://app.your-company.com',
4 process.env.NODE_ENV === 'development' && 'http://localhost:3000'
5].filter(Boolean);
6
7app.use(cors({
8 origin: (origin, callback) => {
9 // Allow requests with no origin (like mobile apps)
10 if (!origin) return callback(null, true);
11
12 if (allowedOrigins.indexOf(origin) !== -1) {
13 callback(null, true);
14 } else {
15 callback(new Error('Not allowed by CORS'));
16 }
17 },
18 credentials: true,
19 methods: ['POST'], // MCP typically only needs POST
20 allowedHeaders: ['Content-Type', 'Authorization'],
21 maxAge: 86400 // Cache preflight requests for 24 hours
22}));
Preflight Optimization
Browser clients send preflight OPTIONS requests before actual requests. Handle these efficiently:
1// Handle preflight requests quickly
2app.options('/mcp', (req, res) => {
3 res.header('Access-Control-Allow-Origin', req.headers.origin);
4 res.header('Access-Control-Allow-Methods', 'POST');
5 res.header('Access-Control-Allow-Headers', 'Content-Type, Authorization');
6 res.header('Access-Control-Max-Age', '86400');
7 res.sendStatus(204);
8});
Transport Choices: stdio vs Streamable HTTP vs SSE
The MCP protocol supports multiple transport layers, each suited for different use cases. Here's when to use each.
stdio (Standard Input/Output)
Best for local development and CLI tools. Your MCP server communicates through stdin/stdout pipes, just like traditional command-line programs. This offers the lowest latency and zero network exposure, making it perfect for desktop applications where the AI client and MCP server run on the same machine.
Streamable HTTP
The modern choice for production deployments. It uses standard HTTP POST requests with streaming responses, allowing you to:
- Deploy behind load balancers and API gateways
- Add standard web security layers (TLS, WAF, authentication)
- Scale horizontally across multiple servers
- Monitor with standard HTTP observability tools
Server-Sent Events (SSE)
The original HTTP transport for MCP, now considered legacy but still supported. SSE might still be the right choice if:
- You're integrating with older MCP clients that don't support Streamable HTTP
- Your infrastructure is already built around SSE (some proxy configurations work better with SSE)
- You need one-way server-to-client streaming without the complexity of WebSockets
The TypeScript SDK includes compatibility shims for SSE, so you can support both old and new clients during a transition period. However, for new projects, stick with Streamable HTTP for remote deployments or stdio for local tools.
Performance Optimizations
When your MCP server handles production traffic, performance becomes critical. Here are key optimizations to keep your server responsive even under load.
Response Caching
Cache expensive operations to avoid redundant work:
1import { LRUCache } from 'lru-cache';
2
3// Cache search results for 5 minutes
4const searchCache = new LRUCache<string, any>({
5 max: 500, // Maximum 500 entries
6 ttl: 1000 * 60 * 5, // 5 minutes
7});
8
9server.registerTool(
10 "search-docs",
11 config,
12 async ({ query, limit }) => {
13 const cacheKey = `${query}:${limit}`;
14 const cached = searchCache.get(cacheKey);
15
16 if (cached) {
17 log.info({ query }, "Cache hit");
18 return cached;
19 }
20
21 const result = await performSearch(query, limit);
22 searchCache.set(cacheKey, result);
23 return result;
24 }
25);
Connection Pooling
Reuse connections to external services:
1import { Pool } from 'pg'; // Example with PostgreSQL
2
3// Create connection pool at startup
4const dbPool = new Pool({
5 max: 20, // Maximum 20 connections
6 idleTimeoutMillis: 30000,
7 connectionTimeoutMillis: 2000,
8});
9
10// Use the pool in your tools
11async function searchDatabase(query: string) {
12 const client = await dbPool.connect();
13 try {
14 const result = await client.query('SELECT * FROM docs WHERE content ILIKE $1', [`%${query}%`]);
15 return result.rows;
16 } finally {
17 client.release(); // Always release back to pool
18 }
19}
Streaming Large Responses
For large datasets, stream responses instead of loading everything into memory:
1server.registerResource(
2 "large-file",
3 template,
4 config,
5 async (uri) => {
6 const stream = createReadStream(uri.pathname);
7 const chunks: string[] = [];
8
9 // Stream the file in chunks
10 for await (const chunk of stream) {
11 chunks.push(chunk.toString());
12
13 // Send partial results if supported by transport
14 if (chunks.length % 10 === 0) {
15 // Yield intermediate results
16 }
17 }
18
19 return { contents: [{ uri: uri.href, text: chunks.join('') }] };
20 }
21);
Resource Limits
Prevent memory exhaustion with limits:
1// Limit concurrent operations
2import pLimit from 'p-limit';
3
4const limit = pLimit(5); // Max 5 concurrent operations
5
6async function handleMultipleSearches(queries: string[]) {
7 return Promise.all(
8 queries.map(query =>
9 limit(() => performSearch(query))
10 )
11 );
12}
13
14// Limit response sizes
15function truncateResponse(text: string, maxLength = 50000): string {
16 if (text.length <= maxLength) return text;
17 return text.slice(0, maxLength) + '\n... (truncated)';
18}
Monitoring Performance
Track key metrics to identify bottlenecks:
1async function measurePerformance<T>(
2 operation: string,
3 fn: () => Promise<T>
4): Promise<T> {
5 const start = process.hrtime.bigint();
6 try {
7 const result = await fn();
8 const duration = Number(process.hrtime.bigint() - start) / 1_000_000; // Convert to ms
9
10 // Log slow operations
11 if (duration > 1000) {
12 log.warn({ operation, duration }, 'Slow operation detected');
13 }
14
15 // Track metrics (integrate with your monitoring system)
16 metrics.histogram('mcp.operation.duration', duration, { operation });
17
18 return result;
19 } catch (error) {
20 metrics.increment('mcp.operation.error', { operation });
21 throw error;
22 }
23}
Bonus: Adding stdio Support for Local Development
If you want your server to work with local development tools that use stdio (like Claude Desktop which has built-in MCP support), you can add a separate entry point. This allows MCP clients to run your server as a child process and communicate through standard input/output streams.
1// src/stdio.ts 2import { McpServer } from "@modelcontextprotocol/sdk/server/mcp.js"; 3import { StdioServerTransport } from "@modelcontextprotocol/sdk/server/stdio.js"; 4import { server } from "./server-instance.js"; // export your configured `server` from a module 5 6const transport = new StdioServerTransport(); 7await server.connect(transport);
Testing it End-to-End
Let's test our personal knowledge base MCP server using the MCP Inspector, which provides a user-friendly interface for interacting with your server.
Step 1: Create some notes
First, create a notes directory with sample content (or use your own markdown notes):
1mkdir notes 2cat > notes/typescript-tips.md << 'EOF' 3# TypeScript Tips 4 5Use type guards to narrow types safely and improve code quality. 6EOF 7 8cat > notes/mcp-notes.md << 'EOF' 9# MCP Protocol Notes 10 11MCP provides tools, resources, and prompts to AI applications. 12EOF
Step 2: Start your server
Run your server:
1npm run dev 2 3# To use a custom notes directory: 4# NOTES_DIR=/path/to/your/notes npm run dev
You should see: ✅ MCP server on http://localhost:3000/mcp
Step 3: Launch MCP Inspector
In a new terminal, start the Inspector:
1npx @modelcontextprotocol/inspector
When prompted, enter your server URL: http://localhost:3000/mcp
Step 4: Test your tools and resources
The Inspector will show you all available tools and resources. Here's how to test them:
Testing the search tool
- Click on "search-notes" in the tools list
- Fill in the parameters:
- query: "typescript"
- limit: 5
- Click "Execute" to see matching notes with snippets
Testing the list tool
- Click on "list-notes" in the tools list
- Click "Execute" to see all your notes
Testing note reading
- Click on "note" in the resources list
- Enter the resource URI:
note://typescript-tips.md - Click "Read" to see the full note content
Testing security
Try these to confirm your security measures work:
- Path traversal:
note://../server.ts(should fail) - Invalid tool parameters like a 500-character query (should be rejected)
- Make rapid requests to test rate limiting
The Inspector shows you the raw protocol messages, making it easy to debug issues and understand how MCP communication works.
Production Checklist
Before deploying your MCP server to production, verify you've addressed these critical security and operational concerns:
- Auth: JWT or OAuth (SDK has a proxy provider & router to delegate to your IdP like GitHub).
- Network: behind an API gateway with TLS, WAF, IP allowlists, and DDoS shielding.
- Secrets: provisioned via a vault; rotate regularly.
- Observability: structured logs + traces around tool runs; alert on error spikes.
- Limits: per-client rate limits and per-tool concurrency limits; enforce timeouts.
- Data safety: redact PII from outputs; scrub logs; never echo secrets.
- Change mgmt: version your tools/resources; keep contract tests with Inspector and CI.
Where to Go Next
- TypeScript SDK README - Examples, transports, server/client patterns, OAuth proxy helper
- MCP Documentation - Core concepts, transport details, architecture overview
- MCP Inspector - GUI for testing and debugging your servers
- MCP Servers Repository - Community-contributed server implementations for inspiration
- Claude Desktop Integration - How to connect your MCP server to Claude Desktop
Wrap-up
You now have a working MCP server in TypeScript with sensible security guardrails: validation, auth, rate-limiting, timeouts, allowlists, and audit logging. From here, you can add real tools (Slack, GitHub, DB queries), promote your auth to OAuth with the SDK's router, and keep iterating in the Inspector until your agent UX feels native.
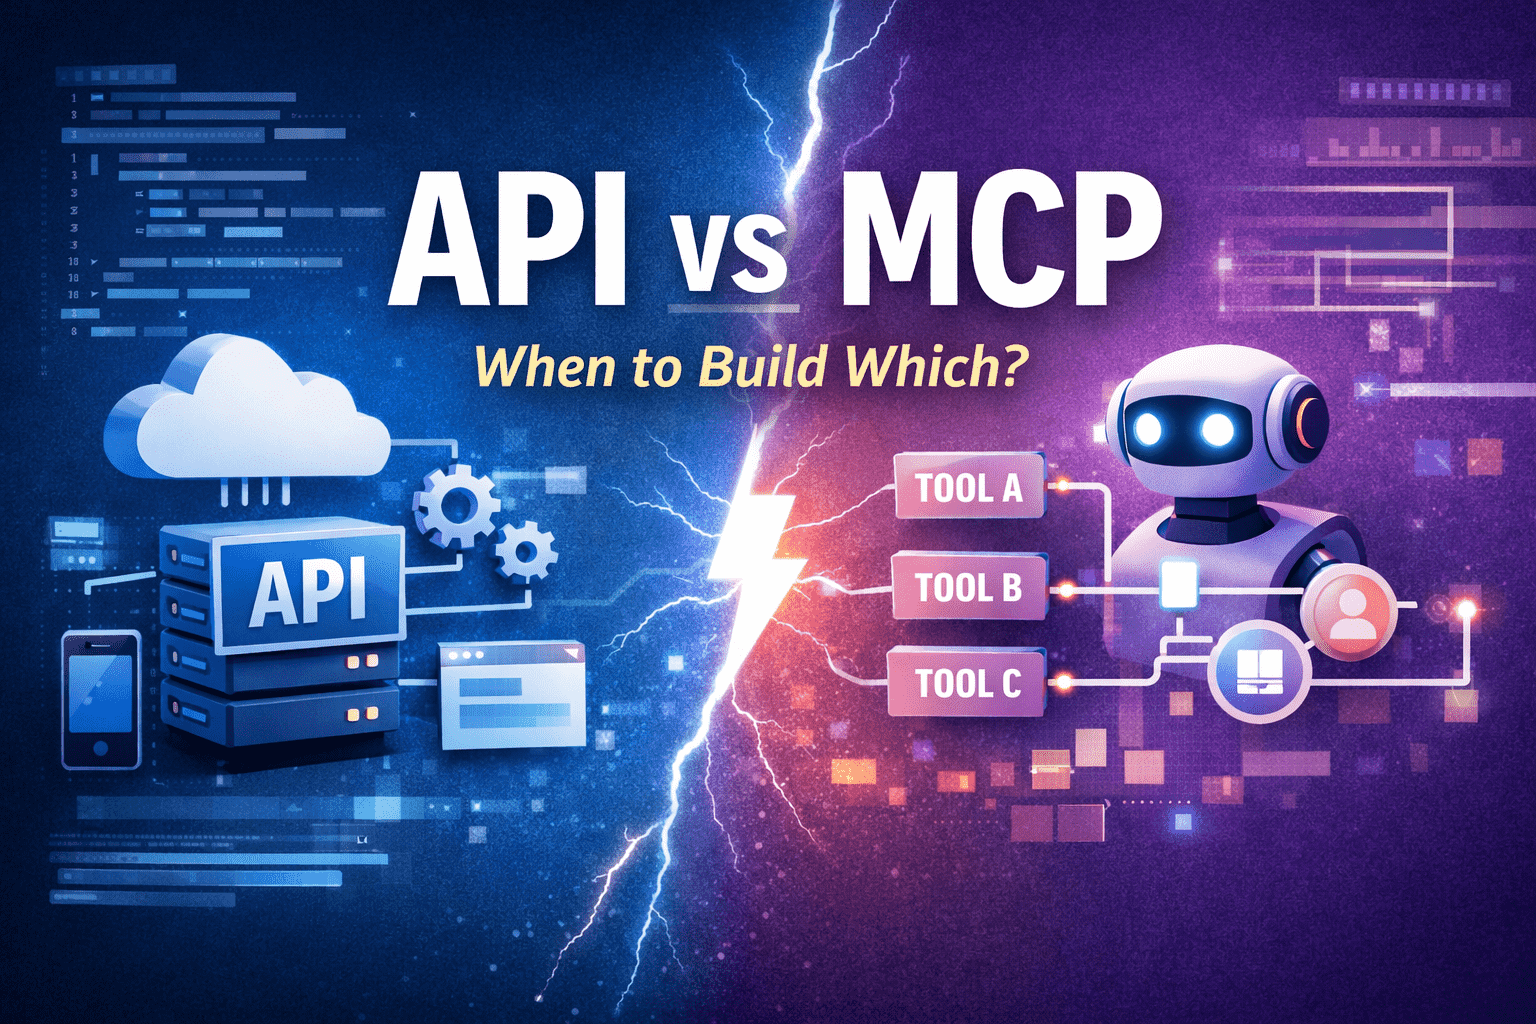
For a higher-level overview of when to use MCP versus a traditional API, see API vs MCP: When to Use Each. And if you're connecting your MCP server to a React frontend that streams AI responses, check out how to render streamed OpenAI responses with React.