Programming the Adafruit HalloWing M4
September 20, 2020 | 11 minutesIn This Post
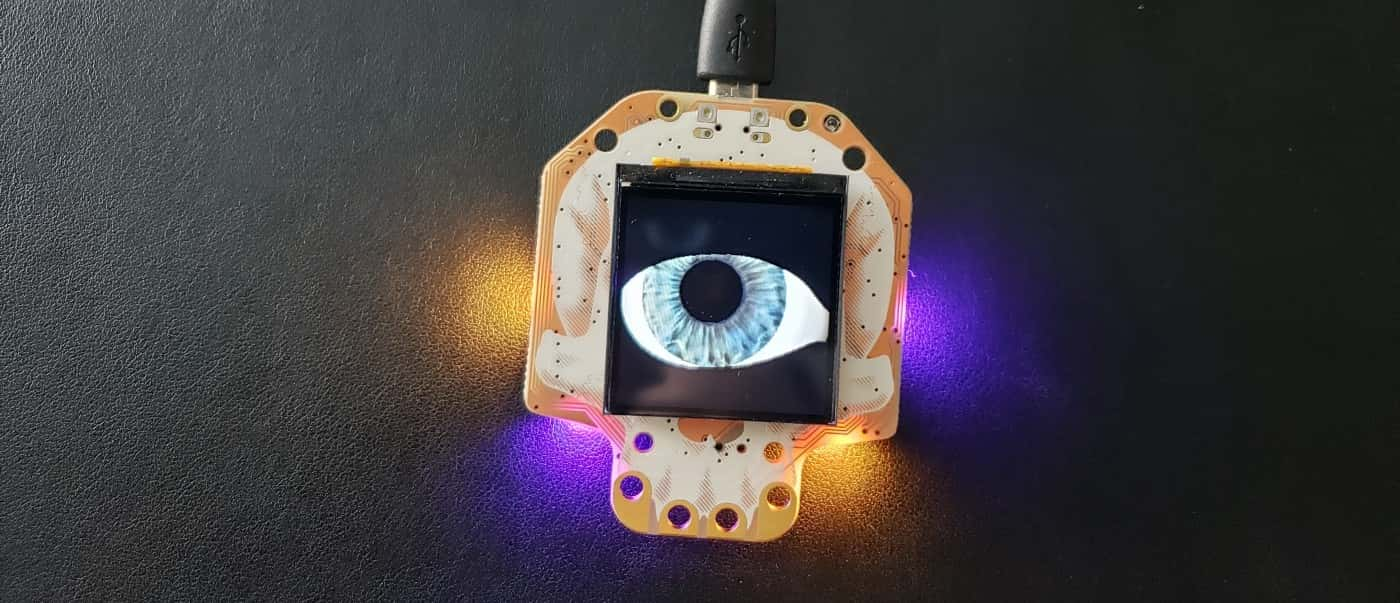
With Halloween coming up next month, I was looking around the Adafruit website for a fun Halloween-themed project. They have a few options, but the one that caught my eye (pun intended 😆) was the HalloWing M4 board. It’s a skull-shaped ATSAMD51J19A board with a 1.54" 240x240 full color IPS TFT screen that’s preset to show a moving eye that gives the impression something is watching you 👁.
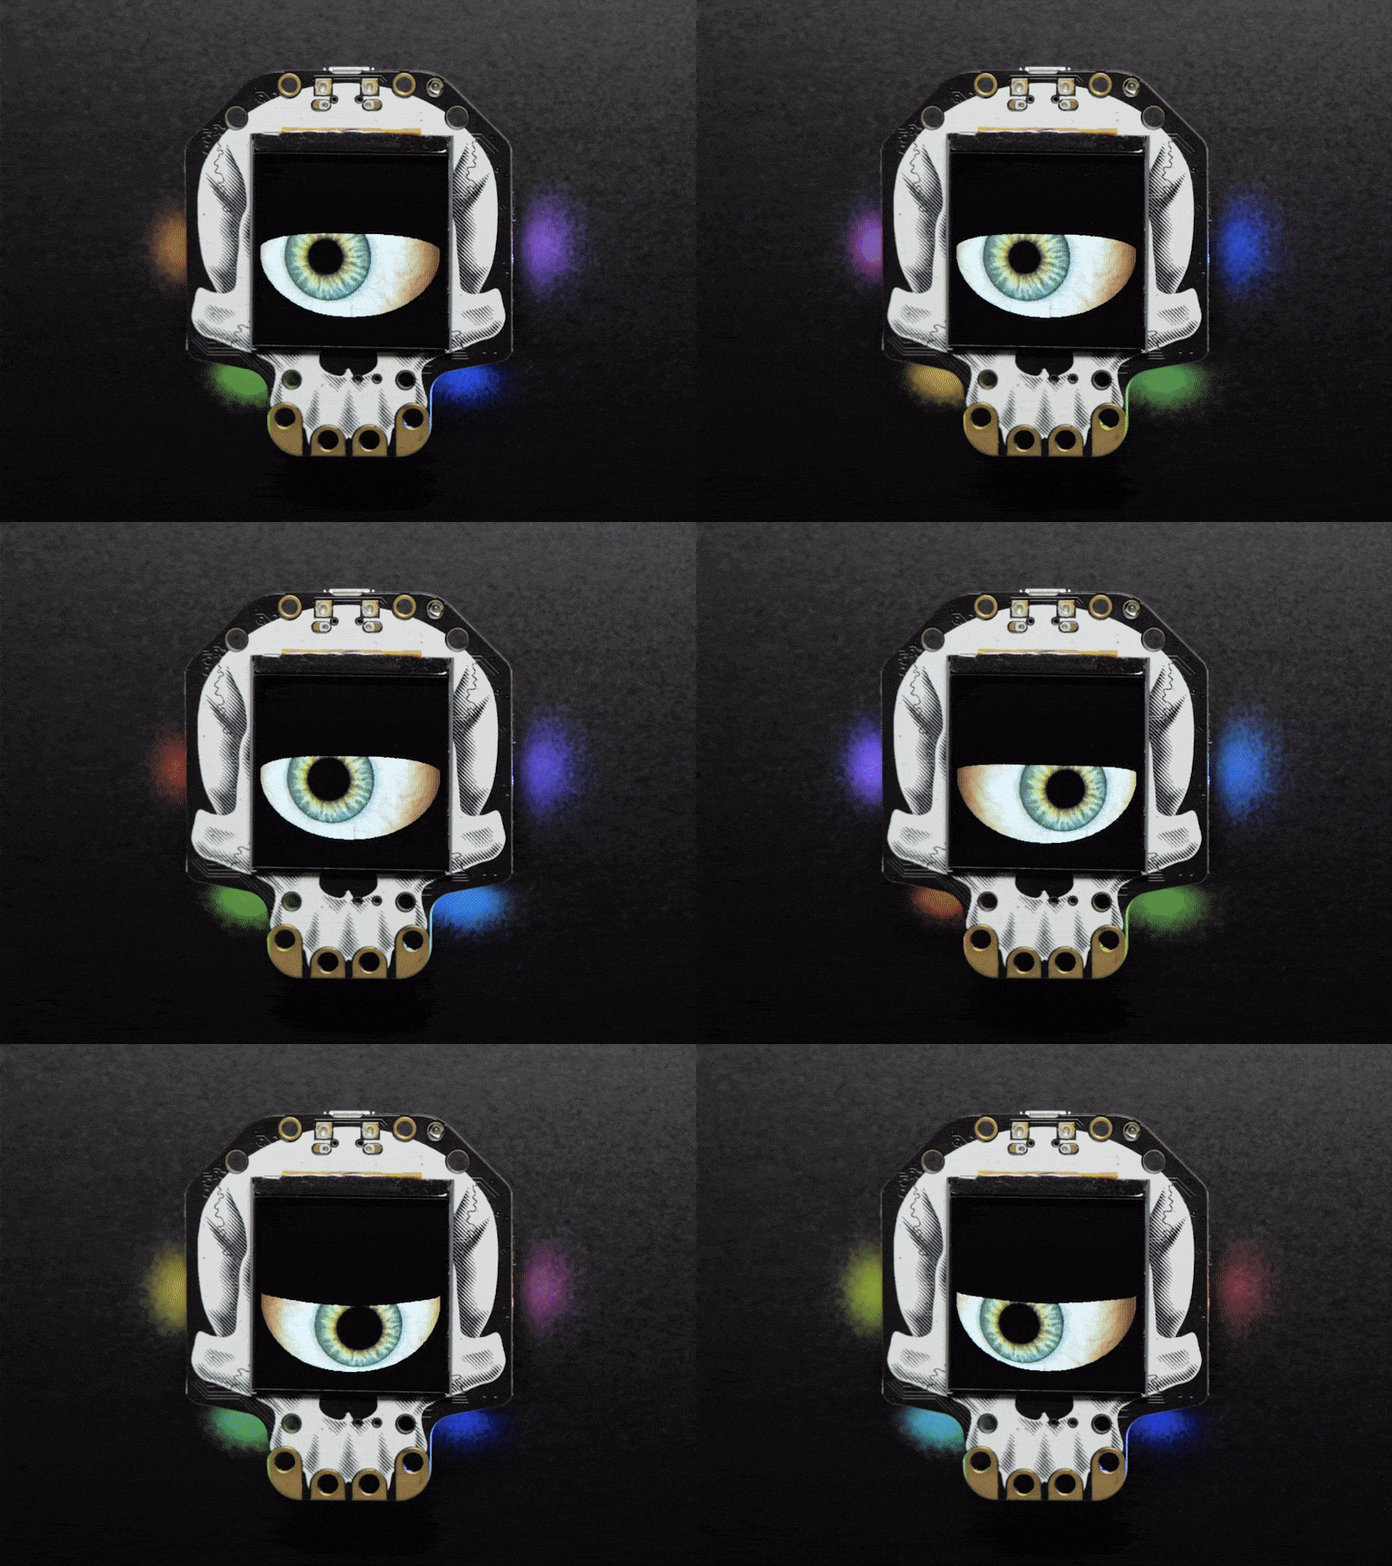
Plus, it has lots of features including:
- 8 MB of SPI Flash storage
- A 3-axis accelerometer
- A light sensor that can be used to trigger eye movements
- Four built-in side-light NeoPixel LEDs that create an underlighting effect
- A mono Class-D speaker driver for sound effects
- Four capacitive touch pads
It’s fun for either a Halloween costume or decoration. If the look of the default eye doesn’t suit your style, Adafruit has 15 to choose from and you can even create your own fairly easily with their templates and the JSON data use to create the eye animation.
There are some nuances to programming this board though. If you want to program the NeoPixel LEDs to light up or use the capacitive touch pads to trigger interactions while also running the eye animation, then you need to update the C++Adafruit library to do so. The board supports CircuitPython, but the eye animation is currently only available as an Arduino library.
This didn’t seem clear from the Adafruit website and I found it a little tricky to get the NeoPixel LEDs working with the eye animation on my HalloWing M4, so I wanted to share my steps here in case anyone else is trying to do something similar.
Here are the steps I took to make the NeoPixel LEDs work with the animation. You should also be able to expand on these steps to use other features of the board along with the eye animation.
Environment Setup
Download and install the Arduino IDE The first step to update the C++ library is to download and install the Arduino IDE. I used the downloadable software version, but there’s a web-based version that you could try as well. While there is a Pro version, you don’t need that in order to update this library.
Install the Board in the Arduino IDE The Arduino IDE has certain boards installed by default that you can start working with right away. As of the time of writing, the HalloWing M4 is not one of them, so you’ll need to follow the steps below to install it.
- Open the “Preferences” menu.
- In the dialog that pops up, paste the following URL into the “Additional Boards Manager URLs” field:
https://adafruit.github.io/arduino-board-index/package_adafruit_index.json. This makes it possible to install third-party boards in the IDE. - Open Tools > Board > Boards Manager in the menu.
- In the dialog that pops up, search for Arduino SAMD Boards. Click the install button next to it when it appears in the list. Note: you should use version 1.6.11 or later.
- In the same dialog, search for Adafruit SAMD and install it.
- Close and re-open the IDE.
- If you go to Tools > Board > Adafruit SAMD (32-bits ARM Cortex-M0+and Cortex-M4) Boards now, you should see Adafruit Hallowing M4 (SAMD51) in the list. That’s the board we’re using, so go ahead and select it.
Clone the Adafruit Learning System Guides Repo Next, you’ll want to clone the Github repo for the Adafruit Learning System Guides to your local computer.
If you’re new to using Github, here are the steps for cloning the repo:
- Make sure that you have Git installed. You’ll need to run Git commands to interact with Github. Run
git --versionin your Terminal/Command Prompt and if it’s not installed, either follow the prompts to install it or download it from the Git website. - On the Terminal/Command Prompt, navigate to the folder on your computer where you want to store your local copy of the Github repo. Leave the Terminal/Command Prompt open.
- On the Github repo page, look for the green “Code” button. Click on that button and click the “clipboard” icon beside the link under “Clone with HTTPS.” This is the link you’ll need to run the next command.
- Back in your Terminal/Command Prompt, run the following command to clone the repo:
git clone [INSERT LINK COPIED IN STEP 3]. After this command runs, you should see all of the folders and code in the Github repo on your local machine.
Updating the Code
Now that you have the Arduino IDE installed and setup and have cloned the Github repo, you can start editing the library. As you’ve probably noticed, there are a lot of programs in the Adafruit Learning System Guides repo. The one that we’re interested in is the M4_Eyes program, so our focus will be on the files in that folder.
Within the M4_Eyes program folder, there are a handful of files with the extension .cpp. These are C++ files and all of the ones that begin with user are things that you can configure and adjust based on your needs. This guide will focus on the user_neopixel.cpp file because we’re enabling the NeoPixel sidelight LEDs. Here’s a quick rundown of the other .cpp user files though and ways you can use them:
user.cpp— For programming with any of the pins on the board. You could enable and colorize the LED lights, access the speaker, etc.user_pir.cpp— For programming with the motion sensoruser_hid.cpp— For programming sound detectionuser_touchneopixels.cpp— Change LEDs based on external inputs like touchpadsuser_watch.cpp— For using a heat sensor to set the eye focususer_fizzgig.cpp— For programming the eye to be part of a robot that uses servos to control a face
You can only run one of these user*.cpp files at a time. For the one that you want to use, the first line of code in the file should look like this:
1#if 1 // Change to 1 to enable this code (must enable ONE user*.cpp only!)
Change the 1 to a 0 when you don’t want to use a user\*.cpp file (0 is the default).
Editing the user_neopixel.cpp File
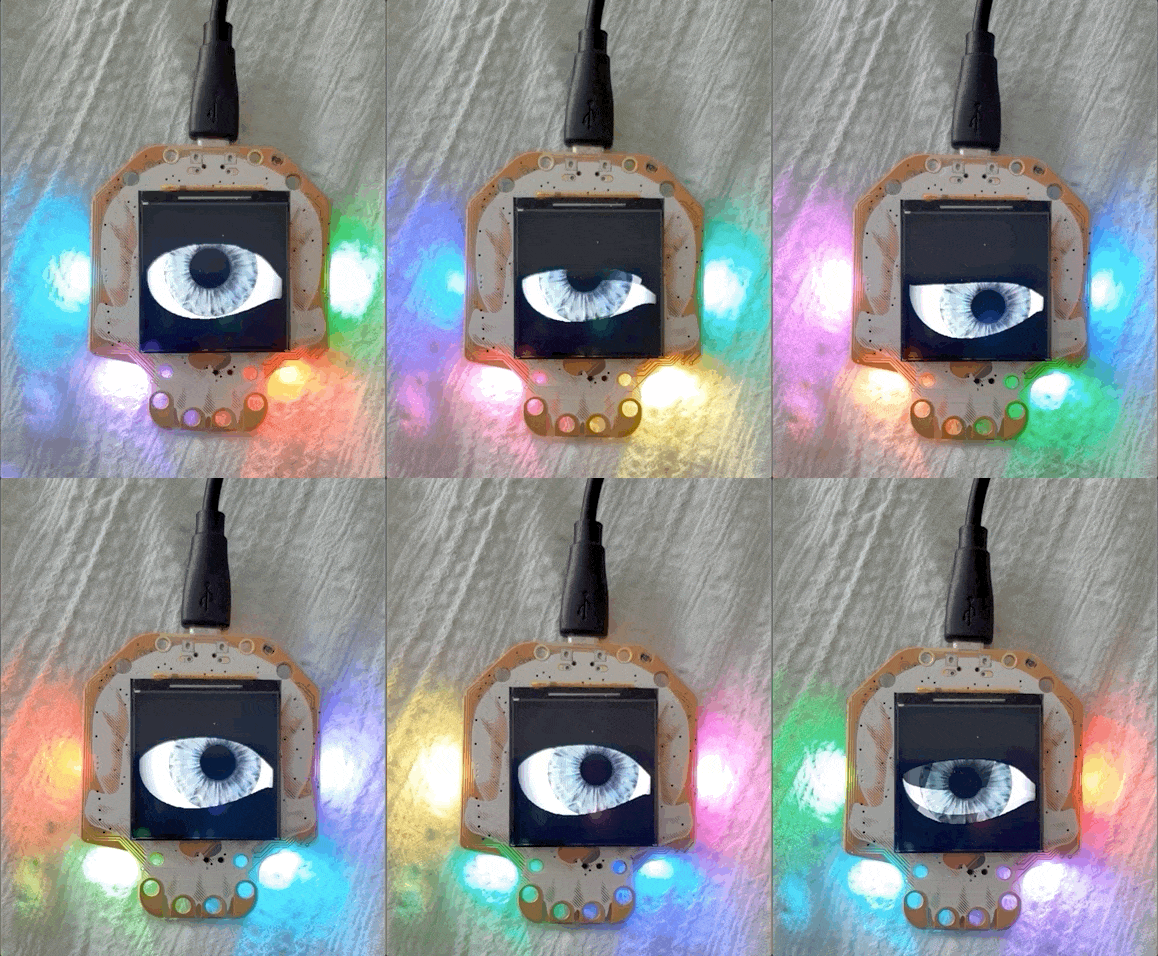
The user_neopixel.cpp file in the M4_Eyes program gives us a nice starting point that smoothly cycles the four NeoPixels around the edges of the board through the color wheel, like this:
For my HalloWing though, I thought it would be fun to use purple and orange for the NeoPixels to give it more of a Halloween vibe. The code to make these changes is available in a Github Gist and I’ll walk through it below.
First, at the top of the file, make sure the value after #if is set to 1, so that this file gets included in the project build.
1#if 1 // Change to 1 to enable this code (must enable ONE user\*.cpp only!)
On the next line, keep the #include statement from the original code in the user_neopixel.cpp file. This is used to import the Adafruit NeoPixel library into the program so that we can access the NeoPixels.
Then, let’s define a few constants. Specially, let’s define constants for the LED_PIN, which indicates which pin the NeoPixels are using, and the LED_COUNT, which indicates the number of LEDs on the HalloWing board.
1#define LED_PIN 8 // The NeoPixels are on Port 8 2#define LED_COUNT 4 // There are 4 NeoPixels on the board
Now, let’s setup the NeoPixels. First, define the strip of NeoPixels as an object. To do this, you need to use the Adafruit_NeoPixel type and call the strip() function, which takes three arguments: the number of LEDs (LED_COUNT in our case), the pin that the strip is using (LED_PIN in our case), and the pixel type flags. For the HalloWing M4, the NeoPixels use the GRB bitstream and 800 KHz bitstream (the NeoPixels on this board are using WS2812 LEDs).
1Adafruit_NeoPixel strip(LED_COUNT, LED_PIN, NEO_GRB + NEO_KHZ800);
Then, create a user_setup(void) function that initializes the NeoPixel strip. The function doesn’t return anything, so it’s type is void and it doesn’t need to take any arguments either. You can adjust the brightness value based on your desired effect; the minimum value is 0 and the maximum is 255.
1void user_setup(void) {
2 strip.begin(); // INITIALIZE NeoPixel strip object (REQUIRED)
3 strip.show(); // Turn OFF all pixels ASAP
4 strip.setBrightness(50); // Set BRIGHTNESS to about 1/5 max value
5}
Next up, let’s create a few variables to store the purple and orange color values as well as the the current and previous colors. The purple and orange color values are based on the HSV color model. You can use the color wheel depicted in the Adafruit NeoPixel Uberguide to determine color values for other colors.
1long currentPixelHue = 0; 2int purple = 51000; 3int orange = 8922; 4int prev;
Then, create a set_colors(void) function to set the NeoPixel color values. This is where the magic happens! Inside the function, loop over each NeoPixel and check what the previous color was. If it was orange, make the current NeoPixel purple; otherwise, make it orange to set the alternating effect.
The strip.setPixelColor() function takes the current NeoPixel index and sets its color value using the HSV color selected. After the loop completes, call strip.show() to update the colors in the NeoPixel strip so that the colors actually display on the board.
In addition to the setPixelColor(), ColorHSV(), and show() functions, there are other functions in the Adafruit NeoPixel library that you can use to manipulate the NeoPixels.
1void set_colors(void) {
2 for(int i=0; i<strip.numPixels(); i++) {
3 // Set every other NeoPixel to either purple or orange
4 if (prev == orange) {
5 prev = purple;
6 currentPixelHue = purple;
7 } else {
8 prev = orange;
9 currentPixelHue = orange;
10 }
11
12 // Sets individual NeoPixel color
13 strip.setPixelColor(i,
14 strip.gamma32(strip.ColorHSV(currentPixelHue)));
15 }
16
17 // Update strip with new colors
18 strip.show();
19}
At this point, you just need to add a user_loop(void) function that gets run when the program loads. Inside this function, call the set_colors() function to update the NeoPixels to purple and orange when the program loads.
1void user_loop(void) {
2 set_colors();
3}
That’s it! You can now publish the updated M4_Eyes library to your HalloWing M4 to see the changes.
Publishing the Updated M4_Eyes Library to the HalloWing M4
In the Arduino IDE, follow the steps below to publish the changes to the M4_Eyes library to your HalloWing M4.
- Plug your HalloWing M4 into your computer (if you haven’t already).
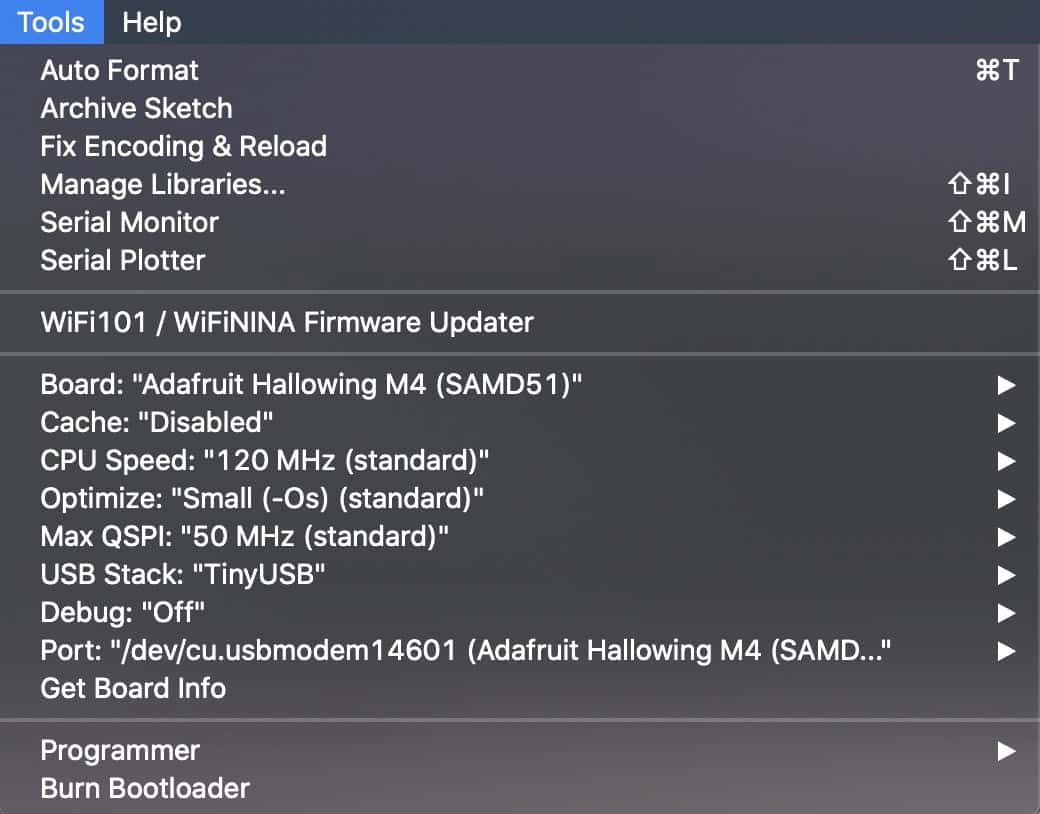
- In the Tools menu, make sure that the Board is set to your HalloWing M4 board and the Port it’s connected to is selected. You should see something like this:
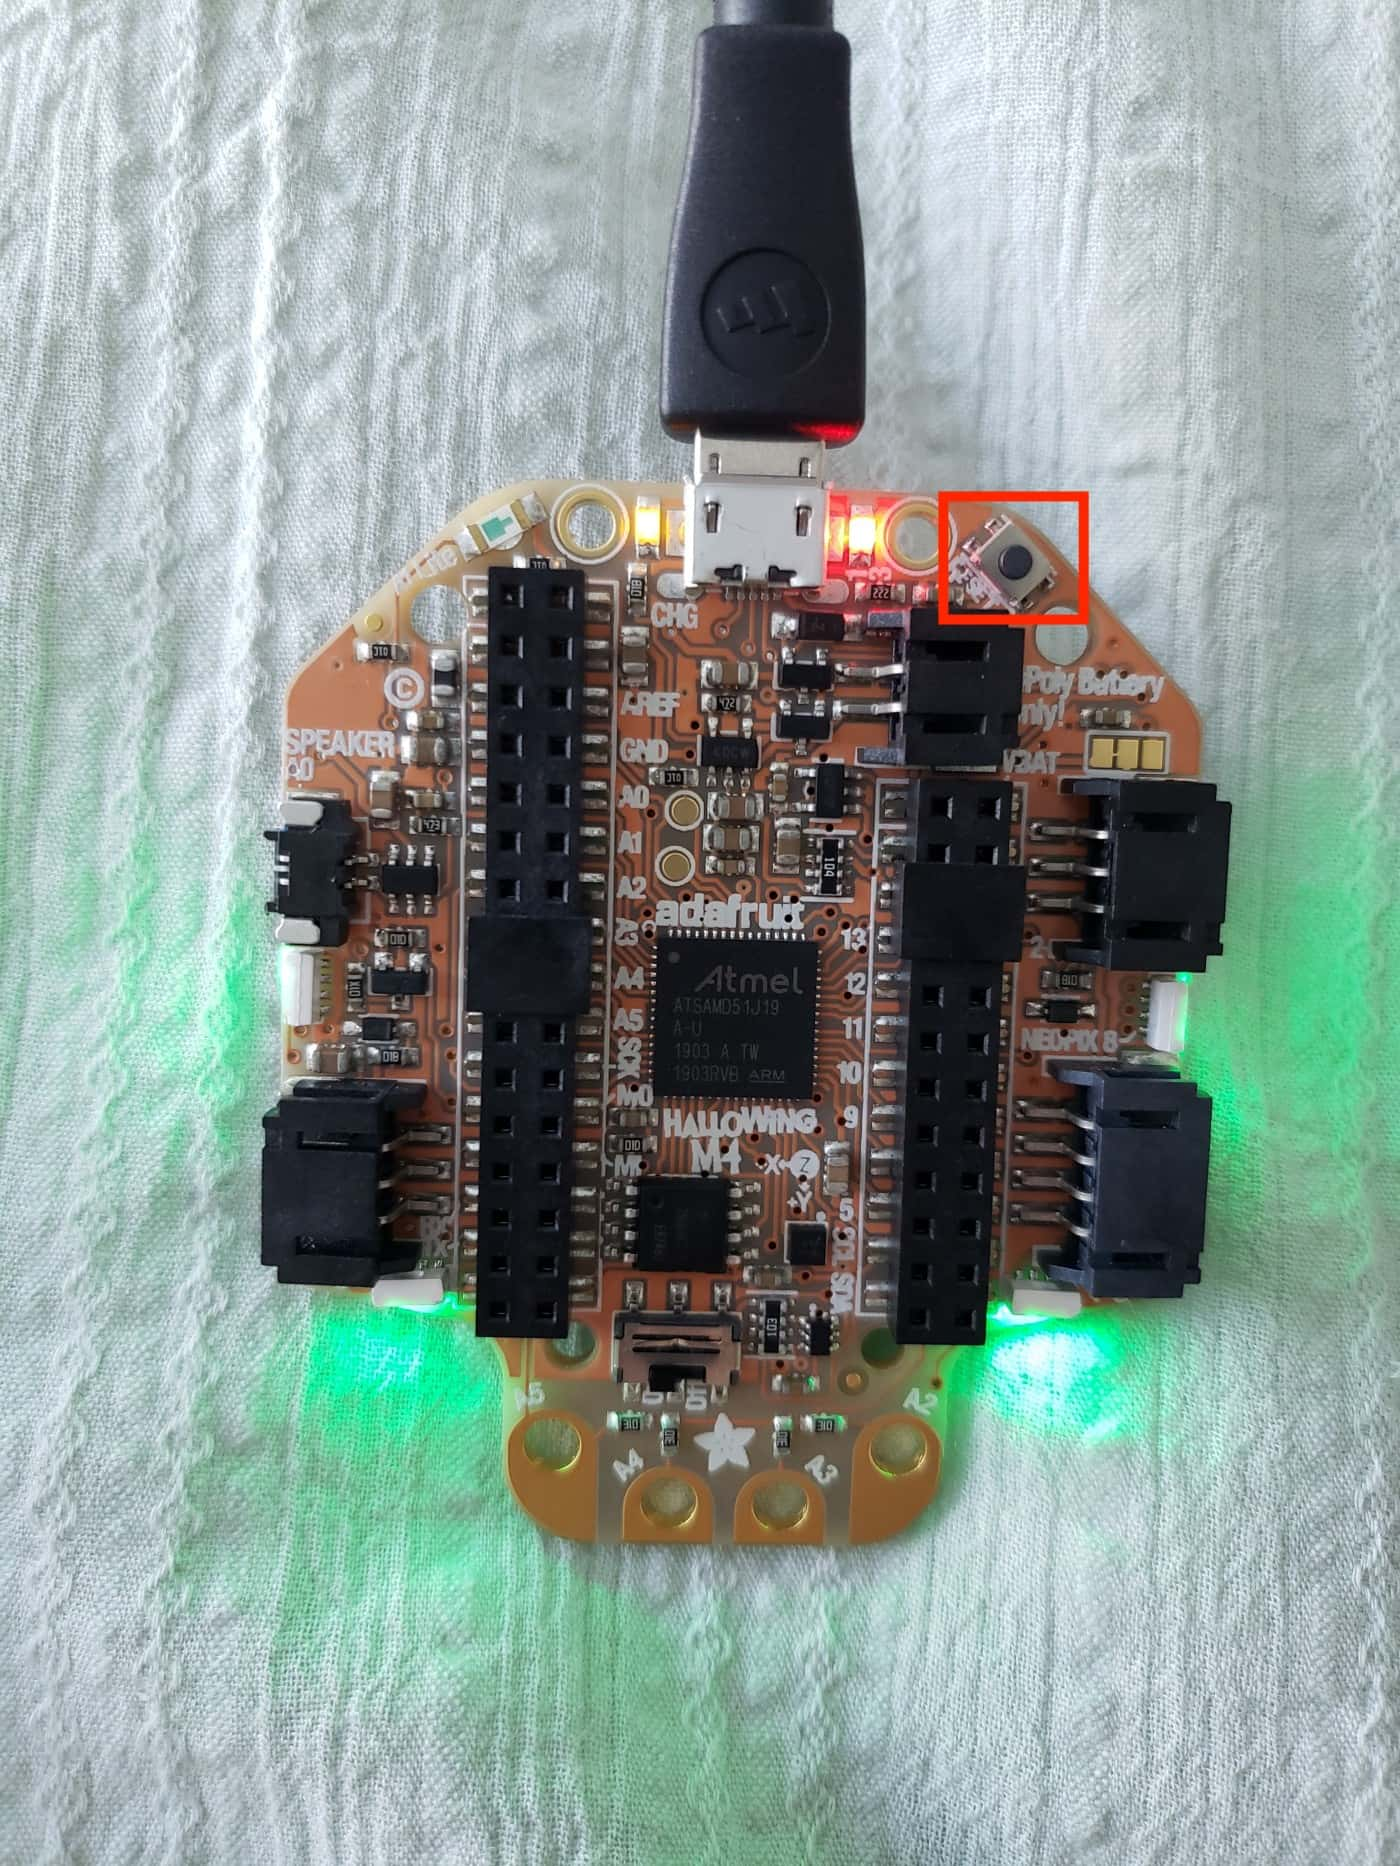
- Put the board in Bootloader Mode. To do this, double click on the black button in the top right corner on the back of the board. You should see the LEDs flash red and then turn green.
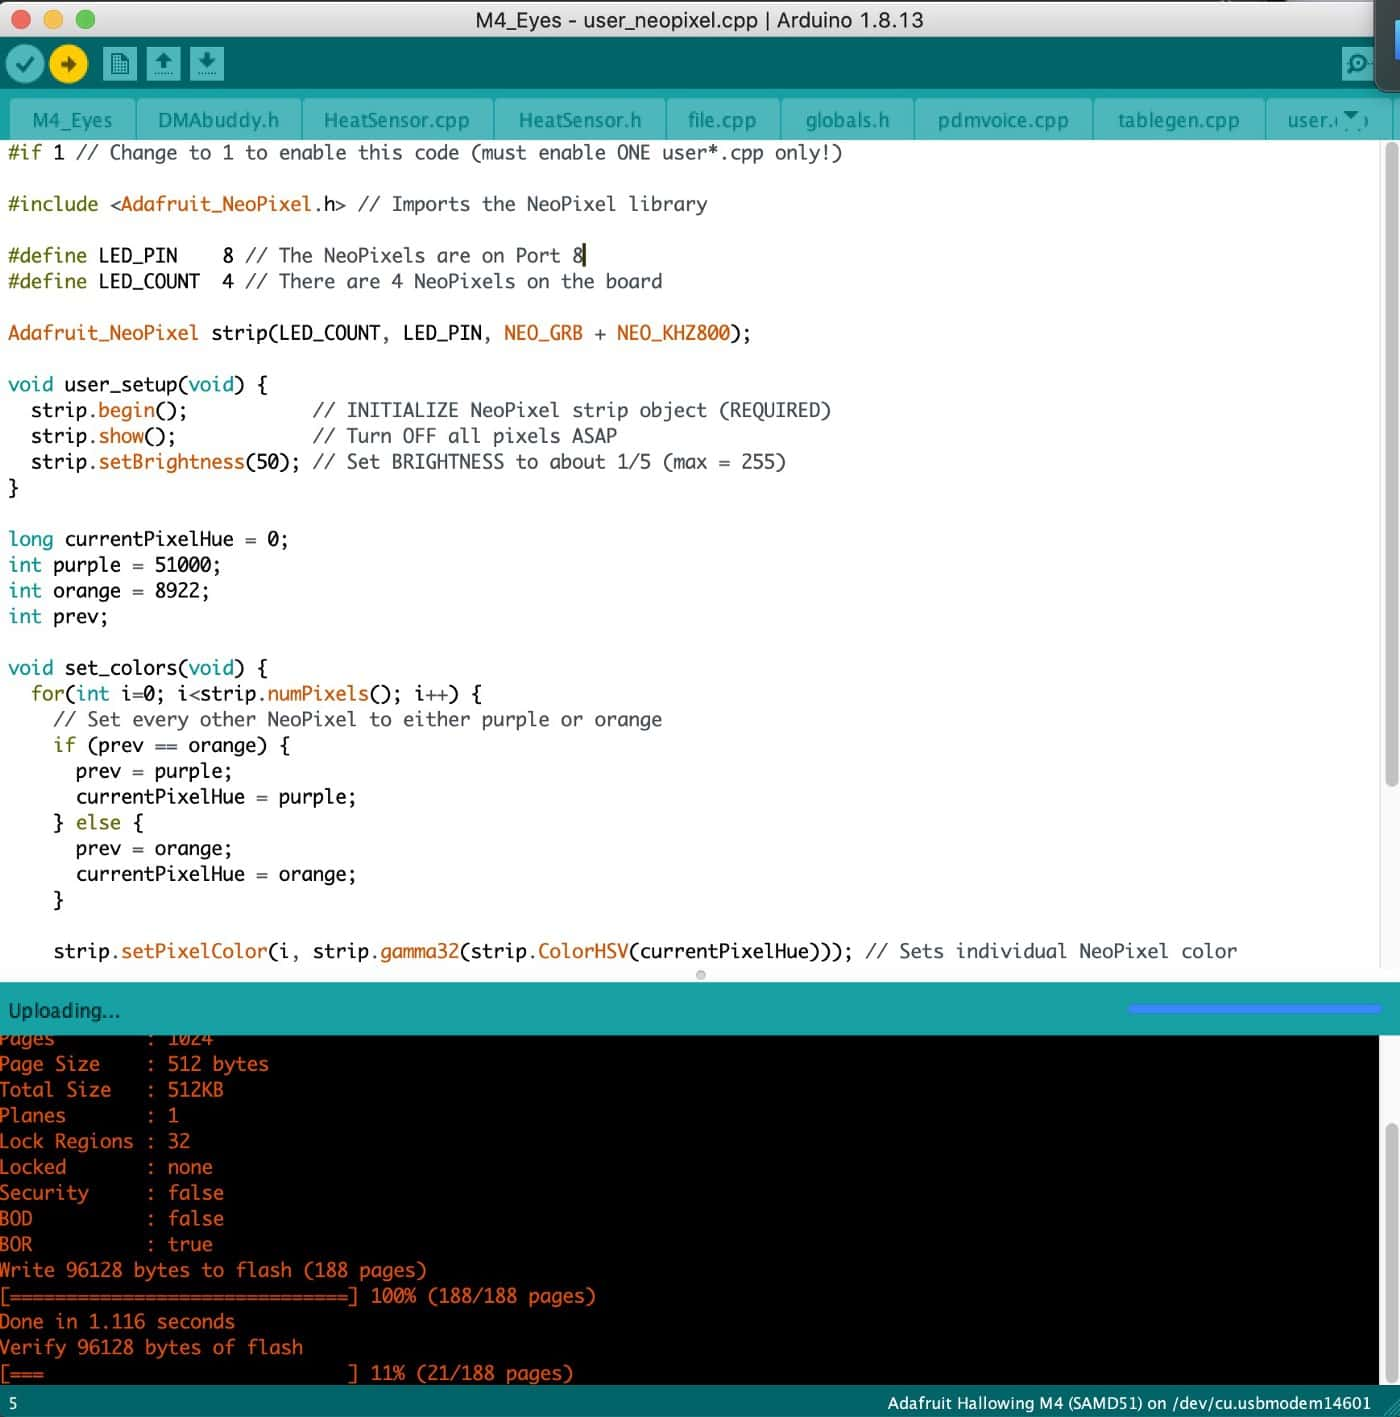
- At the top of your program, you should see an arrow icon that points to the right. That’s the Publish button. Click that button to copy your program to your board. It should show a status that first says “Compiling sketch…” and then it will say “Uploading…”.
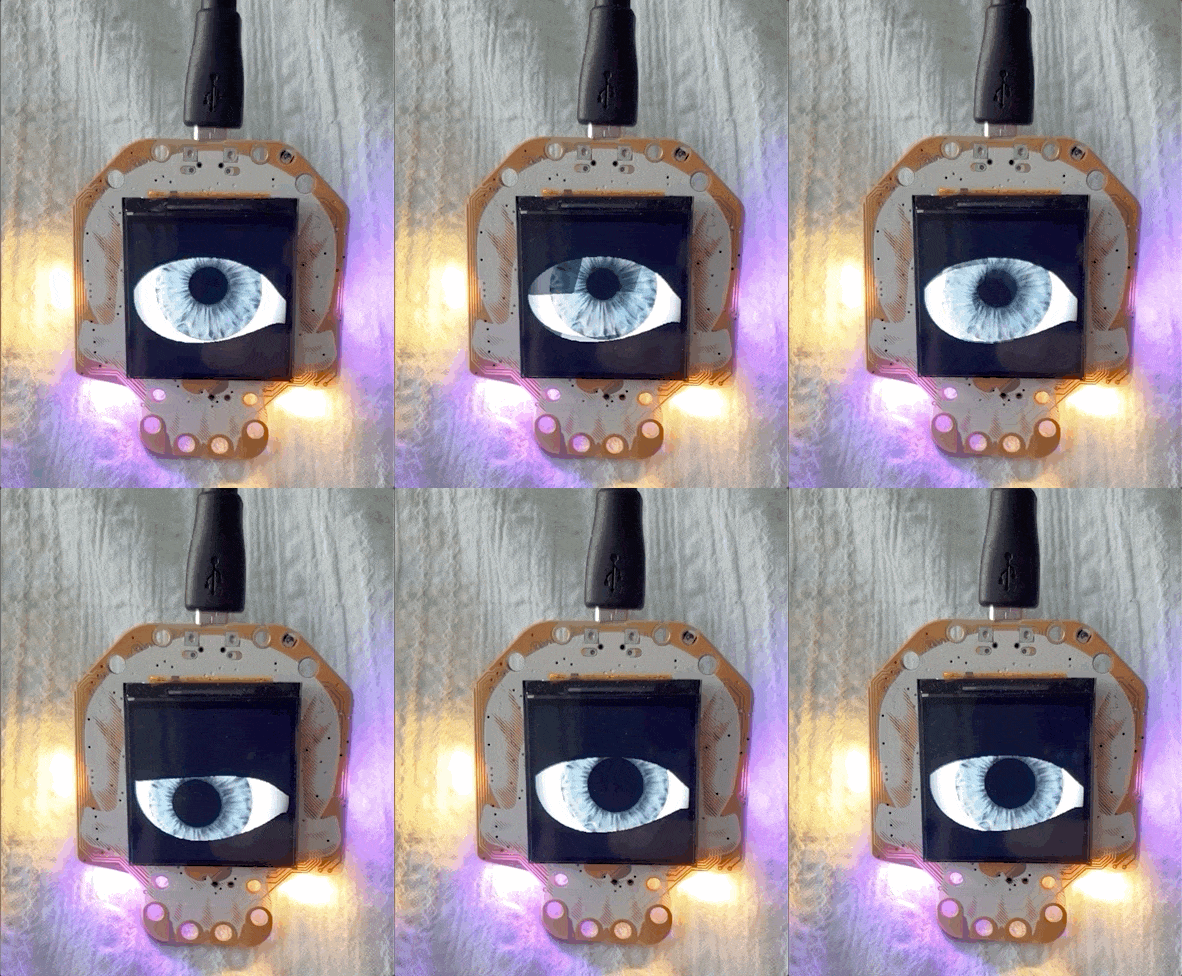
- Once it’s done uploading the program, you should see the eye animation running on your board and the NeoPixel LEDs should be purple and orange.
Changing Eye Styles
It’s pretty straight forward to change the eye style to one of the pre-defined Adafruit eye styles. There’s one hidden gotcha though.
- Download the pre-defined eye styles from the Adafruit website.
- Copy the folder for the eye style you want to use onto your HalloWing M4.
- Copy the
config.eyefile from the eye style folder to the root folder on your HalloWing. This is used by the C++ library to know which eye styles to load. Be sure to remove any comments from theconfig.eyefile (i.e., anything that looks like// text here). If there are comments in your config file, then the C++ library won’t load it correctly and you’ll see the default blue animated eye instead of the one you selected.
Those are the main steps for running the NeoPixels while also using the eye animation and configuring the pixel colors. Enjoy getting your HalloWing ready for Halloween! 🎃